NETGEAR is aware of a growing number of phone and online scams. To learn how to stay safe click here.
Forum Discussion
vasyam
Sep 26, 2020Tutor
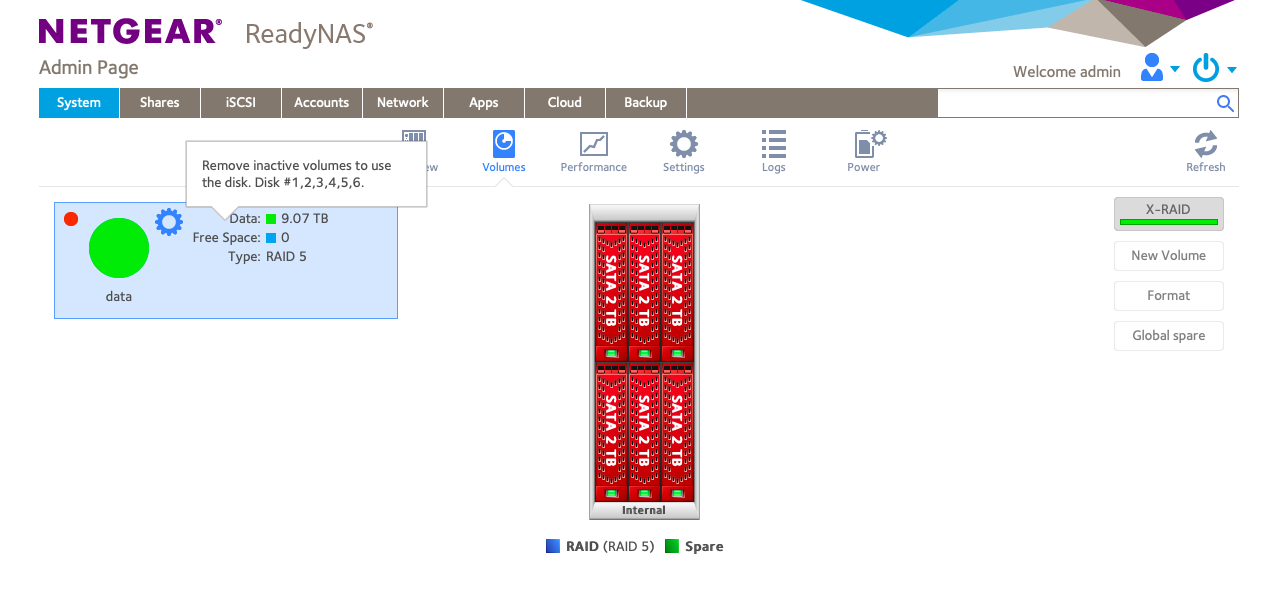
ReadyNAS Pioneer Pro OS6 volume missing after hard reset
Hello, I am running OS6.10.3 on my legacy RNDP6000-100 Pioneer Pro. It works generally fine but freezes someties and the only way to unfreeze it was to perform a hard reset which also worked general...
 Sep 28, 2020
Got it, thank you
StephenB
Sep 28, 2020Guru - Experienced User
vasyam wrote:
I used it once a while ago to make changes to a media player setup and it worked since I had a step-by-step instructions on how to do it. I realize that it may not be straightforward in this case, but am willing to try to recover the volume if the main downside is to have to wipe out the RAID clean.
There is no guide (since there can be more than one cause). Plus this is a procedure I've never needed to do myself - so I am certainly not an expert on this. So this would certainly be at your own risk.
But (assuming you were running XRAID), you could try
# btrfs device scan
# btrfs fi show
# btrfs-zero-log /dev/md127
# mount -t btrfs -r ro,recovery /dev/md127 /data
That would attempt to recover the file system, and mount the result as read-only. If that looks ok, you can just reboot, and it should mount normally.
Remember that you do need to log in as root (using the NAS admin password) when you use ssh.
vasyam
Sep 28, 2020Tutor
Got it, thank you
- vasyamOct 03, 2020Tutor
This is what I am getting
root@NASHNAS:~# btrfs-zero-log /dev/md127
WARNING: this utility is deprecated, please use 'btrfs rescue zero-log'
Clearing log on /dev/md127, previous log_root 747175936, level 0
root@NASHNAS:~# mount -t btrfs -r ro,recovery /dev/md127 /data
Usage:
mount [-lhV]
mount -a [options]
mount [options] [--source] <source> | [--target] <directory>
mount [options] <source> <directory>
mount <operation> <mountpoint> [<target>]
Options:
-a, --all mount all filesystems mentioned in fstab
-c, --no-canonicalize don't canonicalize paths
-f, --fake dry run; skip the mount(2) syscall
-F, --fork fork off for each device (use with -a)
-T, --fstab <path> alternative file to /etc/fstab
-h, --help display this help text and exit
-i, --internal-only don't call the mount.<type> helpers
-l, --show-labels lists all mounts with LABELs
-n, --no-mtab don't write to /etc/mtab
-o, --options <list> comma-separated list of mount options
-O, --test-opts <list> limit the set of filesystems (use with -a)
-r, --read-only mount the filesystem read-only (same as -o ro)
-t, --types <list> limit the set of filesystem types
--source <src> explicitly specifies source (path, label, uuid)
--target <target> explicitly specifies mountpoint
-v, --verbose say what is being done
-V, --version display version information and exit
-w, --rw, --read-write mount the filesystem read-write (default)
-h, --help display this help and exit
-V, --version output version information and exit
Source:
-L, --label <label> synonym for LABEL=<label>
-U, --uuid <uuid> synonym for UUID=<uuid>
LABEL=<label> specifies device by filesystem label
UUID=<uuid> specifies device by filesystem UUID
PARTLABEL=<label> specifies device by partition label
PARTUUID=<uuid> specifies device by partition UUID
<device> specifies device by path
<directory> mountpoint for bind mounts (see --bind/rbind)
<file> regular file for loopdev setup
Operations:
-B, --bind mount a subtree somewhere else (same as -o bind)
-M, --move move a subtree to some other place
-R, --rbind mount a subtree and all submounts somewhere else
--make-shared mark a subtree as shared
--make-slave mark a subtree as slave
--make-private mark a subtree as private
--make-unbindable mark a subtree as unbindable
--make-rshared recursively mark a whole subtree as shared
--make-rslave recursively mark a whole subtree as slave
--make-rprivate recursively mark a whole subtree as private
--make-runbindable recursively mark a whole subtree as unbindable
For more details see mount(8).
Related Content
NETGEAR Academy

Boost your skills with the Netgear Academy - Get trained, certified and stay ahead with the latest Netgear technology!
Join Us!
