- Subscribe to RSS Feed
- Mark Topic as New
- Mark Topic as Read
- Float this Topic for Current User
- Bookmark
- Subscribe
- Printer Friendly Page
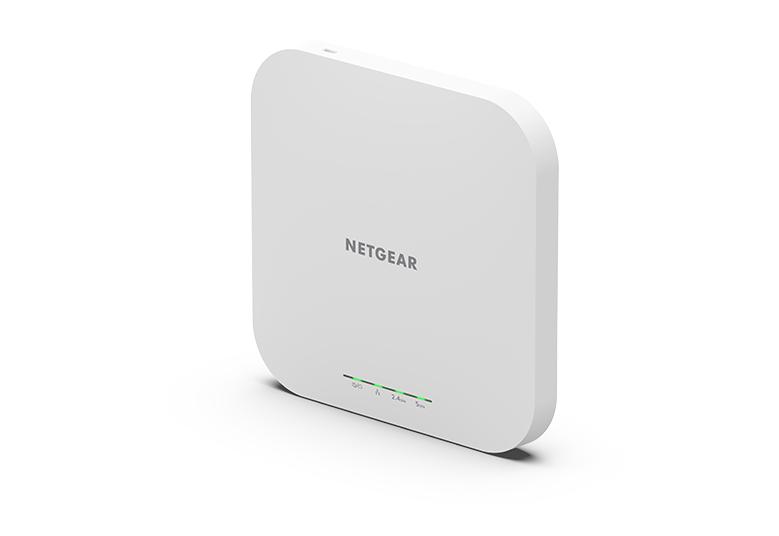
Tips to Install WAX610 in homes and home office buildings
- Mark as New
- Bookmark
- Subscribe
- Subscribe to RSS Feed
- Permalink
- Report Inappropriate Content
- Mark as New
- Bookmark
- Subscribe
- Subscribe to RSS Feed
- Permalink
- Report Inappropriate Content
Directions on how to mount your WAX610 Access Point to a Single Gang Device Box.
Directions on how to mount your WAX610 Access Point to a Single Gang Device Box.
Items Required:
Blank Single Gang Cover (R52-88014-W Leviton)
2X 6-32 X 1/2" Machine Screws
2X 6-32 Nuts
Steps:
1) Use the 15/16" T-bar mount included with your device. It is the one with 2 holes in it.

2) Drill two 6-32 clearance holes (#25 drill bit, 0.1495"/3.8mm) spaced 1.25"/32mm apart centered on the blank cover.
3) Attach the 15/16" T-bar mount to the cover using the 6-32 two screws and nuts.


4) Attach the blank cover assembled with the mount to the single gang device box using the two screws that came with the cover.

5) Lastly, slide the WAX610 onto the bracket.

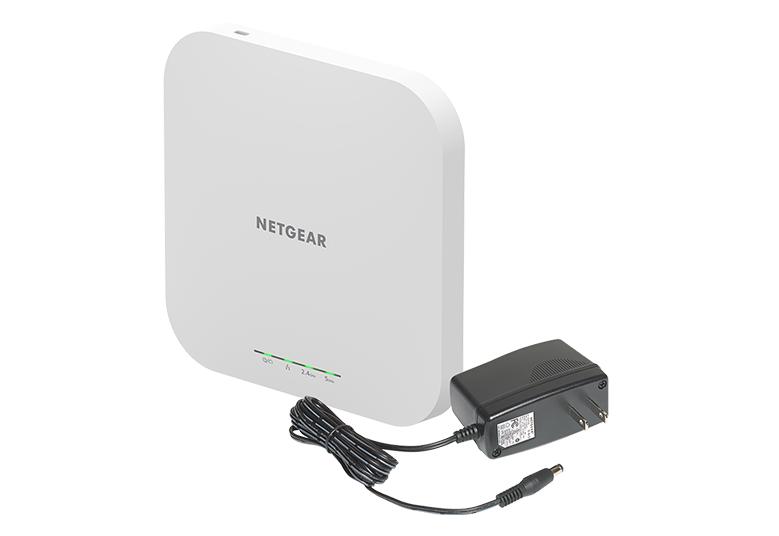
Please note: If the ethernet cable is coming from the device box, you must drill a hole large enough to pass the RJ45 connector and cable through the cover. Consider drilling the two mounting holes off-center so that there is more room to pass the cable through the cover. Be sure not to bend or kink the cable.
#WAX610 #SINGLEGANG #mounting
- Mark as New
- Bookmark
- Subscribe
- Subscribe to RSS Feed
- Permalink
- Report Inappropriate Content
Re: Directions on how to mount your WAX610 Access Point to a Single Gang Device Box.